F100 Restomod · Guide Library · Dentside
1973–1979 Ford F-100 — Dentside
Fits · 1973–1979 only — this IS the generation guideThe Dentside keeps the Twin I-Beam, gains the F-150 beside it in 1975, and has the deepest donor ecosystem of the classic generations. Drop beams, flips, Crown Vic swaps, and the one engine-family warning that saves real money — all in here.
Generation Notes
Build philosophy: Prioritize stance, steering, brakes, and wheel fitment. Keep the original frame and running engine where practical; expensive swaps should be a deliberate choice, not the first step.
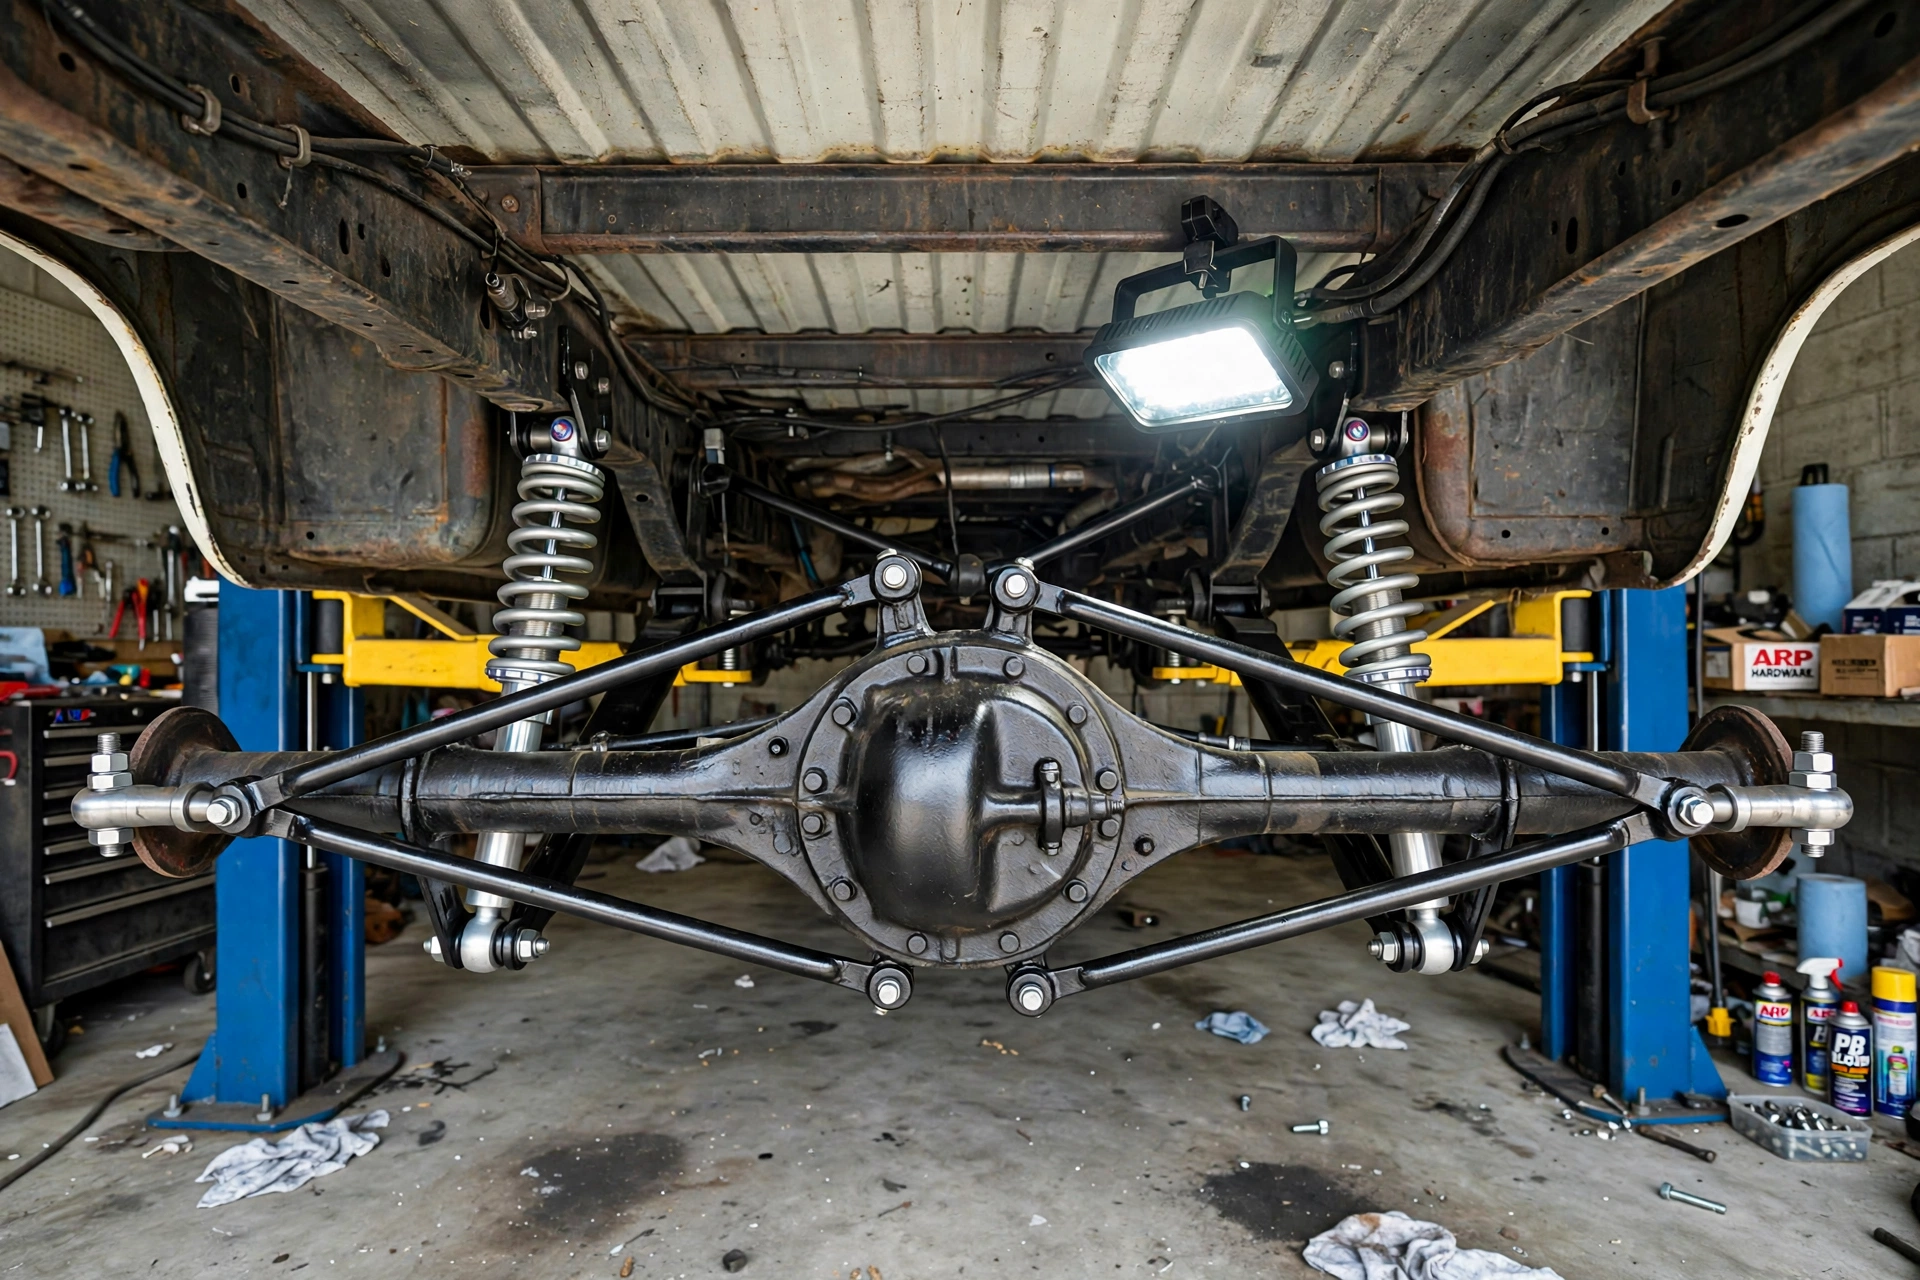
The 1973–1979 Dentside is a strong candidate for a DIY lowered street truck because it retains the Twin I-Beam front suspension on 2WD models and has a large aftermarket and donor-parts ecosystem. F-100 and F-150 components may overlap, but confirm part numbers, axle ratings, brakes, and wheelbase before purchase.
Twin I-Beam remained on 2WD trucks; 4WD trucks have a different front axle/suspension. Engine options varied by year, and F-150 joined the lineup in 1975.
Best DIY Modifications
Twin I-Beam drop beams / lowering parts
Planning cost: $450–$1,200 for front lowering and supporting components.
Usually the least invasive front path for 2WD. Check application year, beam and steering compatibility, ride height, shock travel, and alignment.
Rear axle flip or lowering springs/blocks
Planning cost: $150–$600 basic parts; $400–$1,000+ with clearance work.
A large rear drop can require a frame notch or other clearance solution. Verify pinion angle, bump travel, shock travel, driveshaft, and brake hose length.
Crown Victoria front suspension swap
Planning cost: $1,200–$3,000+ DIY depending on fabrication.
A custom fabrication project, not bolt-in. It changes front track/bolt pattern and requires engineered mounts, steering integration, brake plumbing, and wheel-fitment planning.
Explorer 8.8 or Ford 9-inch rear axle
Planning cost: $200–$1,200 used depending on axle and condition.
Measure axle width, verify spring perches, gear ratio, brake condition, pinion angle, and bolt pattern. Re-gearing or fabrication can erase donor savings.
Engine Swap Options
| Engine / route | Approx. DIY parts cost | Pros & compatibility notes |
|---|---|---|
| Keep / rebuild existing engine | $500–$3,000+ depending on repairs | Usually best value if healthy. Inspect the actual engine and transmission before choosing a swap. |
| 302 / 5.0 Windsor | $1,000–$3,500 for used engine and basic conversion parts | Traditional small-block path; check mounts, pan, cooling, exhaust, transmission, fuel, and driveshaft. |
| 351 Windsor / 351M / 400 family | $1,500–$4,500+ depending on engine and parts | Do not assume 351W, 351M, and 400 are interchangeable. Identify the engine family and plan mounts, bellhousing/transmission, exhaust, and cooling accordingly. |
| Coyote 5.0 | $10,000–$18,000+ for a DIY parts build | High-end modern swap with significant electronics, fuel, transmission, cooling, exhaust, and fabrication costs. |
Engine cost ranges are broad planning estimates, not installed quotes. They exclude many labor, shipping, tax, and troubleshooting costs. Identify the engine and transmission actually in the truck before purchasing swap parts.
Example Budget
| Item | Planning budget |
|---|---|
| Front lowering and refresh | $500–$1,200 |
| Rear lowering and shocks | $200–$600 |
| Steering/brake refresh allowance | $300–$900 |
| Wheels and tires | $600–$1,400 |
| Alignment, fluids, hardware | $200–$500 |
| Planning total (not a quote) | $1,800–$4,600+ |
Budget assumptions. Assumes a usable frame, a running engine/transmission, mostly DIY labor, and no major rust or structural repair. The total is an initial planning range — not a guaranteed all-in cost. A complete brake conversion, custom fabrication, frame notch, or professional welding can increase the price.
Build Order
Recommended build sequence
- 1 · Identify the truck. Confirm model year, 2WD/4WD, wheelbase/bed, engine, transmission, axle, and any prior modifications.
- 2 · Inspect before buying. Check frame rust, steering mounts, suspension pivots, brakes, wheel bearings, fuel lines, and driveline condition.
- 3 · Choose the target stance. Decide mild versus aggressive drop, and plan front/rear heights together.
- 4 · Select compatible suspension parts. Use year-specific fitment and verify travel, geometry, bump stops, brake hoses, and driveshaft angles.
- 5 · Confirm wheel fitment. Check bolt pattern, width, offset/backspacing, brake clearance, and tire clearance at full steering lock and suspension travel.
- 6 · Align and test safely. Verify steering, braking, suspension travel, and driveline behavior before daily use.
Recommended starting build
For a budget street truck, keep the factory Twin I-Beam layout if it is in good condition, choose a matched rear drop, refresh steering and brakes, and postpone an engine swap until the truck is driving safely.
Use rated jack stands; never work under a truck supported only by a jack. Structural welding and critical suspension mounts should be completed or inspected by a qualified fabricator. Brake and steering modifications must be properly engineered and tested before road use.
Parts list — shop this generation’s build
Built from this guide’s own sections. Links are marked affiliate slots until each retailer program approves F100 Restomod — hard parts route to CJ Creators / JEGS, tools and consumables to Amazon, donor and used parts to eBay Partner Network. Fat Fender Garage and QA1 run no affiliate programs, so they appear as name-only mentions.
- DJM Dream Beams, 1965–79 (kingpin design) — JEGS · CJ CreatorsAffiliate slot
- Hanger & shackle kit (rear drop) — JEGS · CJ CreatorsAffiliate slot
- Crown Vic swap install kit / narrowed crossmember brackets — JEGS · CJ CreatorsAffiliate slot
- Master cylinder + adjustable proportioning valve (disc upgrades) — JEGSAffiliate slot
- Crown Victoria front clip, 2003–11 (donor) — eBay Partner NetworkAffiliate slot
- Explorer 8.8 rear axle (donor) — eBay Partner NetworkAffiliate slot
- Drop shocks, front & rear — JEGS · CJ CreatorsAffiliate slot
- QA1 bolt-in coilover conversion — name-only mention (no affiliate program; stocked by the retailers above)
Reference Notes
Use these references for generation history and specific installation context. Parts compatibility and prices must be confirmed with the manufacturer/supplier for the exact truck. Some linked guides are historical and should be treated as starting points, not substitutes for current installation instructions.
- F-100 generation history and Twin I-Beam timing: supermotors.net/registry/ford/f-100
- 1961–1966 chassis, unibody, and engine overview: supermotors.net/registry/ford/f-100/1961-1966
- 1953–1956 Mustang II crossmember instructions: static.speedwaymotors.com/pdf/910-34425.pdf
- 1953–1956 rear axle/lowering discussion: ford-trucks.com — 1953–1956 F100 rear end selection
- 1965–1979 IFS / Twin I-Beam overview: Classic Truck Performance, July 2024
All dollar figures are rough U.S. planning estimates and can vary substantially with donor condition, parts availability, fabrication, shipping, and the amount of work done at home.